Automating drag link inspection with a robot-mounted scanner and PolyWorks|Inspector™ reduces operation time by 95%
Saitama Kiki Co., Ltd. has been in the manufacturing sector in Japan since 1956. As a Tier 1 supplier, their activities range from research and development to production and sales. Their main products are critical safety and hydraulic parts, such as brakes for large vehicles, steering components, and suspensions.
Saitama Kiki has three production bases in Saitama and a plant in Yamagata. They started the production of steering components in Japan in the 1970s and established a plant in Thailand in 2014 to provide products that meet the various needs of their customers.
The Challenge
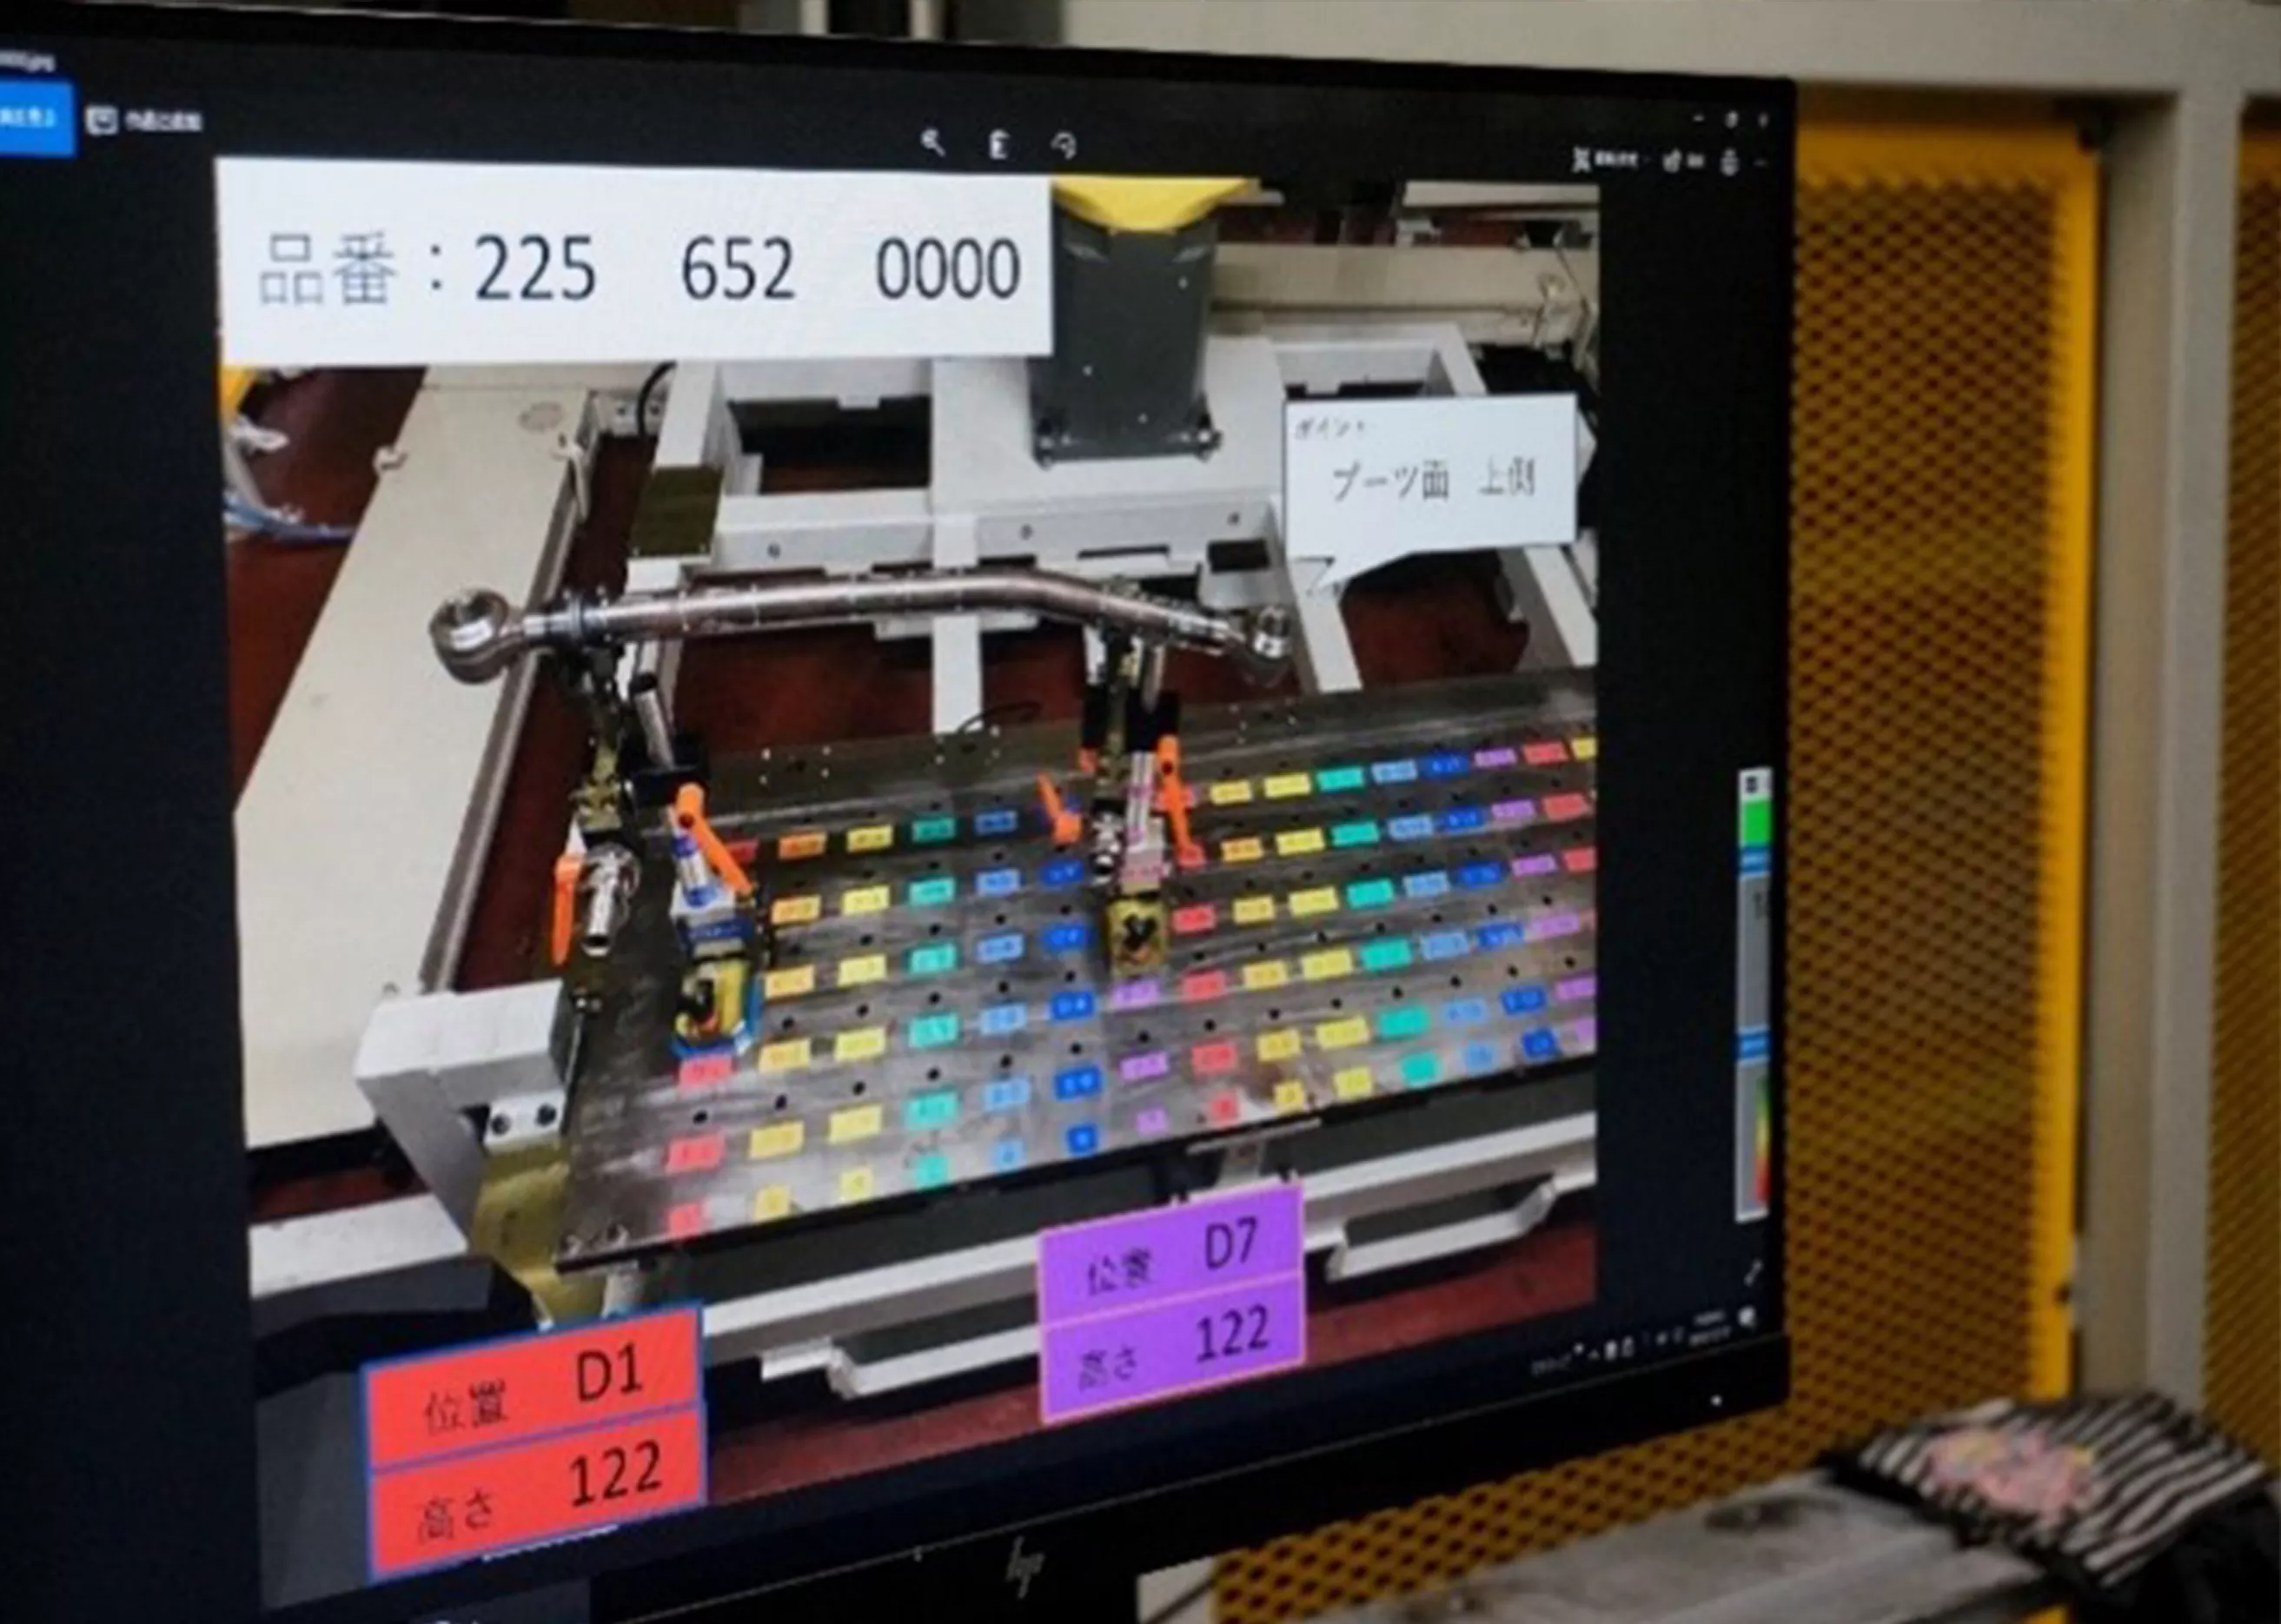
Saitama Kiki produces 800 drag links per day for different types of vehicles. Drag links are bent metal rods that are part of an assembly that transmits the movement of the steering wheel to the wheels.
To control part quality, they inspect a subsample of the daily production. In the past, parts were measured manually using a Mitutoyo CNC CMM CRYSTA-Apex and results were entered in the Mitutoyo MCOSMOS software to compute deviations. Fictional points and dimensions had to be calculated manually from other elements.

Drag links are bent metal rods that are an important part of the assembly that transmits the movement of the steering wheel to the wheels.
It took 20 minutes to measure a part and 40 minutes to calculate deviation values. In addition, different parts required different measurements and distinct procedure manuals, which increased the risk of human error. Add to that the constant shortage of qualified personnel to take the measurements and complete the inspections, and you have a quality control process that was time consuming and error prone.
The Production Engineering Department found that these challenges were mostly caused by manually taking the measurements, and making calculations manually, and received a request from the field staff to automate the inspection of the drag links. More specifically, they requested that the fictional points and dimensions be calculated from other elements automatically. Saitama Kiki called on Toyota Systems Corporation, a distributor, to find a solution.
The Solution
In developing an automated system, Toyota Systems Corporation took the lead and compared different software. With the results in hand, the Production Engineering Department decided to adopt the PolyWorks|Inspector™ software solution that offers a plane, axis, center point feature-based alignment, pass/fail tolerance testing, calculation of CAD-to-measured deviations, monthly bug fixes and enhancements, and other interesting features. More importantly, while Saitama Kiki could continue measuring with the Mitutoyo MCOSMOS software by using several steps of manual operations after measuring with their Mitutoyo CNC CMM, only PolyWorks|Inspector enabled automating the entire series of operations by developing macro functions. Saitama Kiki purchased the PolyWorks solution from PolyWorks Japan, a subsidiary of InnovMetric Software, makers of the PolyWorks® Metrology Suite.
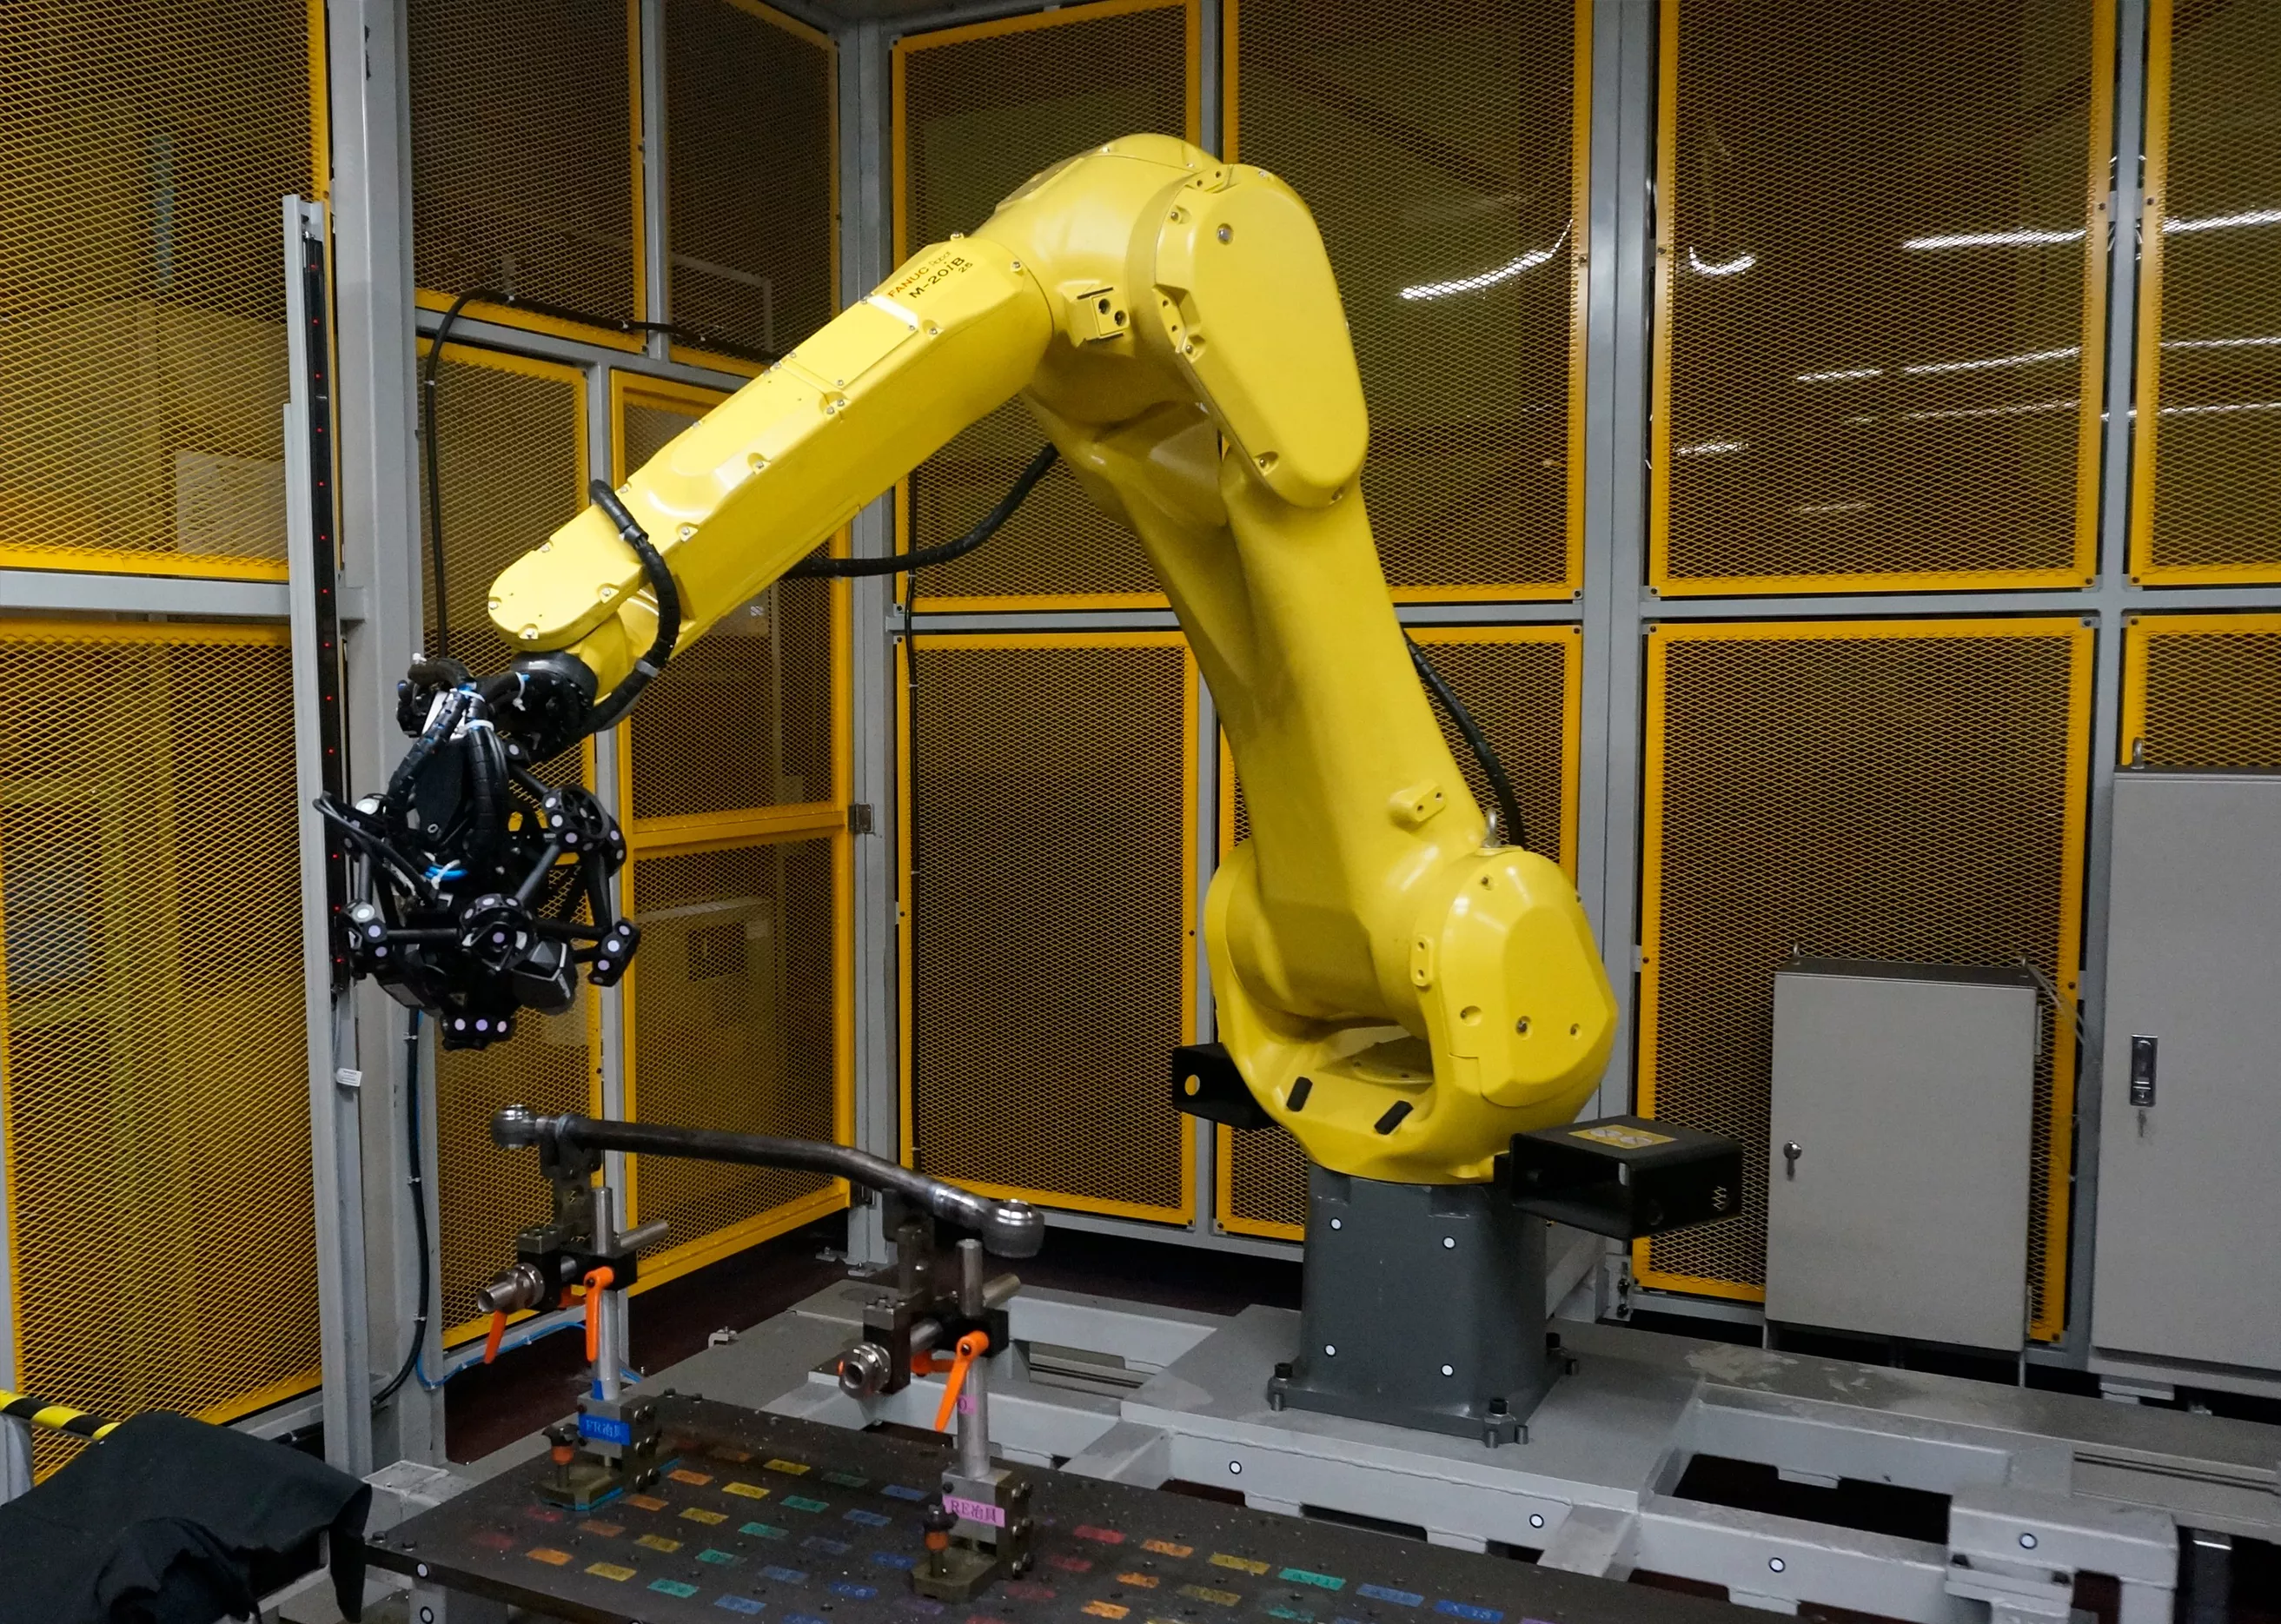
Toyota Systems Corporation teamed up with a systems integrator to automate the measurement of the drag links. After evaluating different possibilities, they decided on a Creaform MetraSCAN 3D-R scanner and an industrial robot to take the measurements without human intervention. The control software uses a PolyWorks macro, and the series of operations from measurement to inspection can now be performed automatically.
Saitama Kiki decided to request help from PolyWorks Japan to develop the macro that does the inspection. The team from PolyWorks Japan understood their needs and developed the macro using an STL file of a scanned drag link and the corresponding CAD file. Then, they went to the plant and tested the macro on-site with the scanner and the robot. The new automated system was completely unmanned and very efficient!

Saitama Kiki produces about 800 drag links for large vehicles every day. About 100 drag links are measured and inspected automatically with PolyWorks macros, the Creaform MetraSCAN 3D-R, and an industrial robot.
The Benefits
Thanks to the full automation of drag link inspection, human operation and advanced skills for measurement inspection are not required anymore, and the new operation can be implemented quickly and easily. Saitama Kiki uses PolyWorks|Inspector macros to make daily use of automatic part measurement and pass/fail tolerance testing.
Mr. Akira Harada, Vice-Director of the Production Engineering Department, stated: "Before, a dedicated operator spent 20 minutes measuring an item manually using a Mitutoyo CNC CMM and 40 minutes calculating deviation values with the MCOSMOS software. We can now implement both the measurement and the inspection in about three minutes, using a fully automated and unmanned operation, thanks to our robot-mounted scanner, our PolyWorks macros, and PolyWorks|Inspector. Consequently, the number of items inspected daily has increased about 20 times while operation time and labor costs have been reduced significantly."
He continued, "As a result, a dedicated measurement technician can handle other production tasks. In addition, this automatic process has eliminated the need for different versions of procedure manuals, as well as errors and variations in measurements. The measurement results are now obtained uniformly and are more accurate.”
Mr. Shinya Ueno, Specialist from the Production Engineering Division of the Production Engineering Department, stated: “ We measure and inspect the quality of the production line as one of several work processes. We can now measure without even touching a computer by using PolyWorks|Inspector. The inspection results are printed out and the feedback on defects can be automatically implemented to improve our manufacturing processes.”
Implementation plans with PolyWorks|Inspector
Saitama Kiki is considering:
- Utilizing a modified version of their PolyWorks|Inspector macros to measure and inspect similar products automatically.
- Connecting the PolyWorks|Inspector software to the Mitutoyo CNC CMM and creating measurement sequences to take measurements automatically.
- Refurbishing the program for the overseas plant in Thailand to automate inspections using PolyWorks|Inspector macros.
Business development for the future
Saitama Kiki has been growing as a manufacturer of equipment for automobiles and other industries and is proud to be a successful contributor to the manufacturing industry in Japan. They believe that their efforts to produce value-added products with their design know-how will contribute to the further development of the company when electrification and self-driving automobiles become mainstream in the near future.
Saitama Kiki has improved productivity and work efficiency, and achieved significant reduction of operation time, by using the PolyWorks software and macro development. They aim to optimize all their part inspection processes by reducing the time it takes to measure parts. In addition, they are considering automating the transmission of measurement results directly to their machining tools. Saitama Kiki will keep providing the best products that satisfy their customers based on advanced production technology and quality assurance systems.